Simple Recording iOS Application
In this example we use the DeepTone™ SDK to analyze the microphone input in real-time.
Setting up project
If you are not familiar with Xcode and how to setup a new project, please follow the official
documentation
to get started.
In this example we will be using Swift 5.4 with a Storyboard UI
.
The xcode project will be called MyProject. If your own project is named
differently, just replace MyProject with your own project name wherever it occurs.
Setting up the SDK
Setting up the DeepTone™ SDK in your project is very easy. Just follow the installation instructions in the quickstart guide
Implementing the Recorder functionality
After everything is setup properly we can start developing the recording functionality in our app. First we will initialize all the variables we need for the app. One Button will be enough to start and stop recording. To show the DeepTone™ output we will print the output to the console.
Let's initialize a button, the recorder instance, a recording session and DeepTone™,
by creating a variable in the ViewController class and override the viewDidLoad()
function:
ViewController.swift
import UIKit
import AVKit
import DeeptoneSDK
import Foundation

let KEY = "YOUR LICENSE KEY"

class ViewController: UIViewController, AVAudioRecorderDelegate {
    var recordButton: UIButton!
    var deeptone: Deeptone!
    var data: DeeptoneOutput?
    var isRecording: Bool!
    var deeptoneStream: DeeptoneStream!
    var audioEngine: AVAudioEngine!
    var recordingSession: AVAudioSession!

    override func viewDidLoad() {
        super.viewDidLoad()
        // Do any additional setup after loading the view.
        isRecording = false
        audioEngine = AVAudioEngine()
        recordingSession = AVAudioSession.sharedInstance()
        ...
    }
}
Make sure you replaced the KEY variable with your own license key.
We are still missing the DeepTone™ initialisation. This can be done using the following code:
class ViewController: UIViewController, AVAudioRecorderDelegate {
    ...
        override func viewDidLoad() {
        ...
        // Setup Deeptone
        let filePath = Bundle.main.path(forResource: "deeptone.example", ofType: "model")
        deeptone = Deeptone(key: KEY, modelPath: filePath!)
        // If deeptone initializes successfully we want to ask for permission to use
        // the microphone and only then load the app UI
        deeptone.start() { result in
            switch (result) {
            case .Success:
                do {
                    try self.recordingSession.setCategory(.playAndRecord, mode: .default)
                    try self.recordingSession.setActive(true)
                    self.recordingSession.requestRecordPermission() { [unowned self] allowed in
                        DispatchQueue.main.async {
                            if allowed {
                                self.loadRecordingUI()
                            } else {
                                print("Failed to get permission to access microphone")
                            }
                        }
                    }
                } catch {
                    // failed to record!
                }
            case .Failure(let error):
                print("Something went wrong! Error: ", error)
            }
        }
    }
}
Make sure your model file is added to the bundle and is named deeptone.example in this case. Set the same name for the Bundle Identifier.
If DeepTone™ successfully initialized we want to ask the user for permission to use the microphone and then load the UI.
Building the app right now will still fail because Xcode wants you to add a reason for why this app
needs to have access to the microphone. To add the reason create a new entry in the Info.plist
file called NSMicrophoneUsageDescription and type in some reason.
Before building we also need to implement the loadRecordingUI() function:
    func loadRecordingUI() {
        recordButton = UIButton(frame: CGRect(x: 64, y: 64, width: 200 , height: 64))
        recordButton.center = self.view.center
        recordButton.setTitle("Tap to Record", for: .normal)
        recordButton.titleLabel?.font = UIFont.preferredFont(forTextStyle: .title1)
        recordButton.addTarget(self, action: #selector(recordTapped), for: .touchUpInside)
        recordButton.setTitleColor(UIColor.black, for: UIControl.State.normal)
        view.addSubview(recordButton)
    }

    @objc func recordTapped() {
        if !isRecording {
            startRecording()
        } else {
            finishRecording(success: true)
        }
    }
This will render a simple button in the middle of the screen. When the button is clicked
the startRecording() or finishRecording(sucess: Bool) function is called - depending on the
state of the app.
We are still missing those functions. Let's add them:
    func startRecording() {
        deeptoneStream = try! self.deeptone.stream(
                onData: { (data: DeeptoneOutput) in
                    // Let's print the last entry for the Gender model
                    print(data.gender.last)
                    self.data = data
                },
                onSuccess: { (data: DeeptoneOutput) in
                    self.data = data
                },
                onError: { (error: DeeptoneSDKError) in
                    debugPrint("Error", error)
                })

        let input = self.audioEngine.inputNode
        let format = input.inputFormat(forBus: 0)

        input.installTap(onBus: 0, bufferSize: 8192, format: format, block: { (buf, when) in
            self.deeptoneStream?.write(audioBuffer: buf)
        })

        self.audioEngine.prepare()
        do {
            try self.audioEngine.start()
            isRecording = true
            recordButton.setTitle("Tap to Stop", for: .normal)
        } catch {
            finishRecording(success: false)
        }
    }

    func finishRecording(success: Bool) {
        guard let deeptoneStream = self.deeptoneStream else {
            return
        }

        deeptoneStream.close()
        self.audioEngine.inputNode.removeTap(onBus: 0)
        self.audioEngine.stop()
        self.audioEngine.reset()
        recordButton.setTitle("Tap to Re-record", for: .normal)
        isRecording = false
    }
When a recording is started, a tap on the microphone is installed and the audio stream is analyzed by DeepTone. DeepTone will deliver data every second. Currently the last result of the Gender model is printed to the console.
Now we should be able to run the first version of the recorder by building the MyProject target.
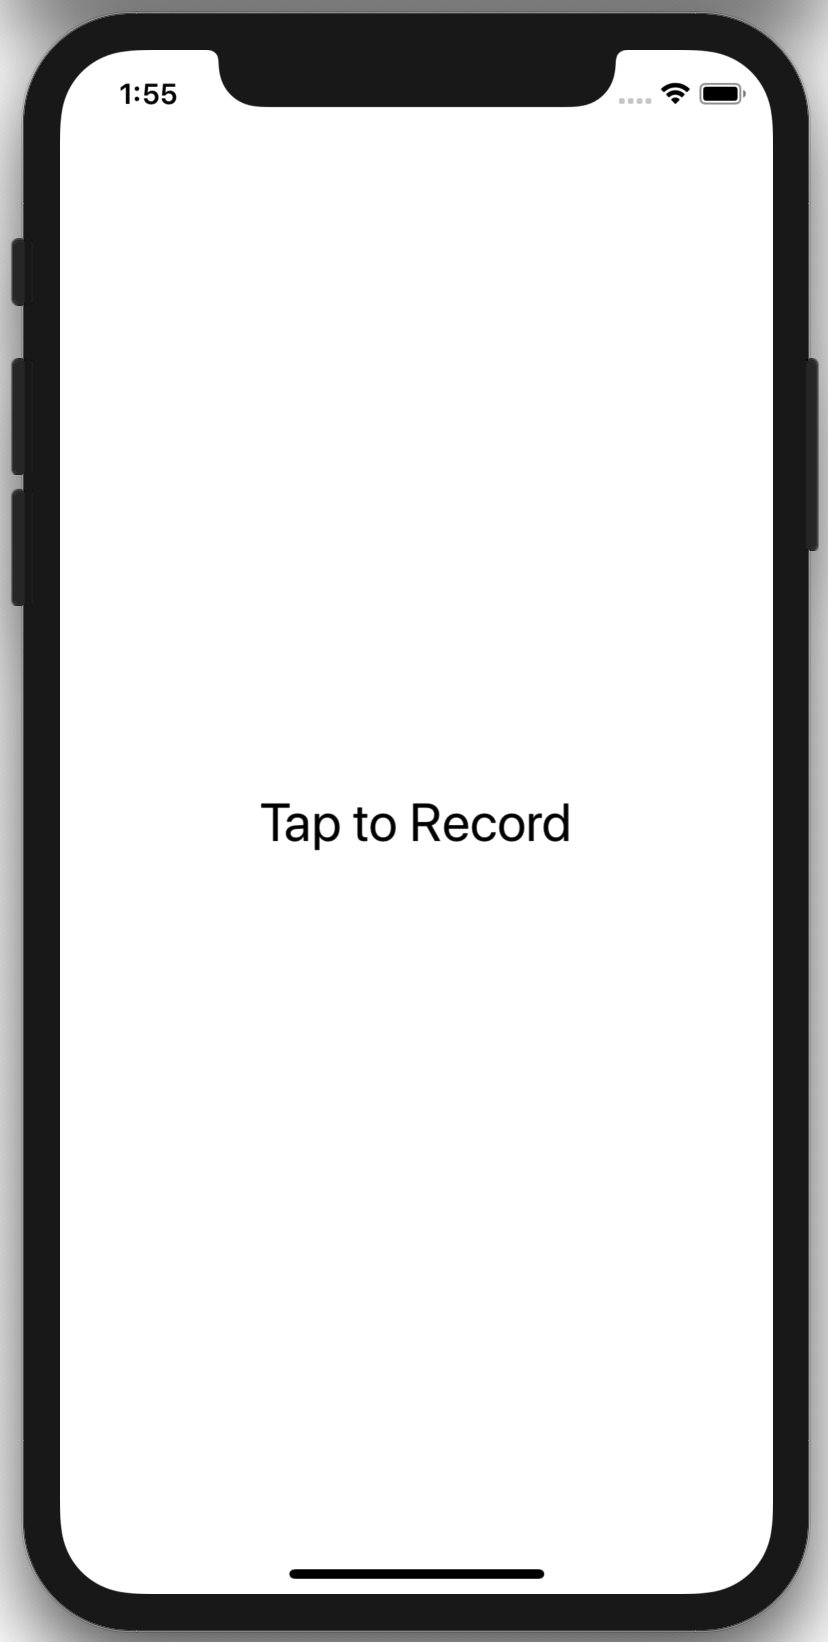
The app itself should look very simple like this:
When recording something, the app should print the DeepTone output for the gender model to the console every second. The terminal output could look like this for a male speaker:
2020-05-05 13:45:52.173188+0200 MyProject[60585:9760930] Initialized TensorFlow Lite runtime.
Optional(DeeptoneSDK.GenderPrediction(gender: 0.9527554))
Optional(DeeptoneSDK.GenderPrediction(gender: 0.9507288))
Optional(DeeptoneSDK.GenderPrediction(gender: 0.99958944))
Optional(DeeptoneSDK.GenderPrediction(gender: 0.9999365))
Optional(DeeptoneSDK.GenderPrediction(gender: 0.99999017))
Optional(DeeptoneSDK.GenderPrediction(gender: 0.99999905))
Optional(DeeptoneSDK.GenderPrediction(gender: 0.9999999))
Optional(DeeptoneSDK.GenderPrediction(gender: 1.0))
Optional(DeeptoneSDK.GenderPrediction(gender: 0.9999846))
Optional(DeeptoneSDK.GenderPrediction(gender: 0.99998826))
Optional(DeeptoneSDK.GenderPrediction(gender: 0.99995184))
Optional(DeeptoneSDK.GenderPrediction(gender: 0.9994518))
Optional(DeeptoneSDK.GenderPrediction(gender: 0.99988323))
Optional(DeeptoneSDK.GenderPrediction(gender: 0.9999794))
Feel free to play around with the different outputs for the different models.
More information on the models can be found here.
How the data is structured exactly can
be found here.
The source code of the app can be found here